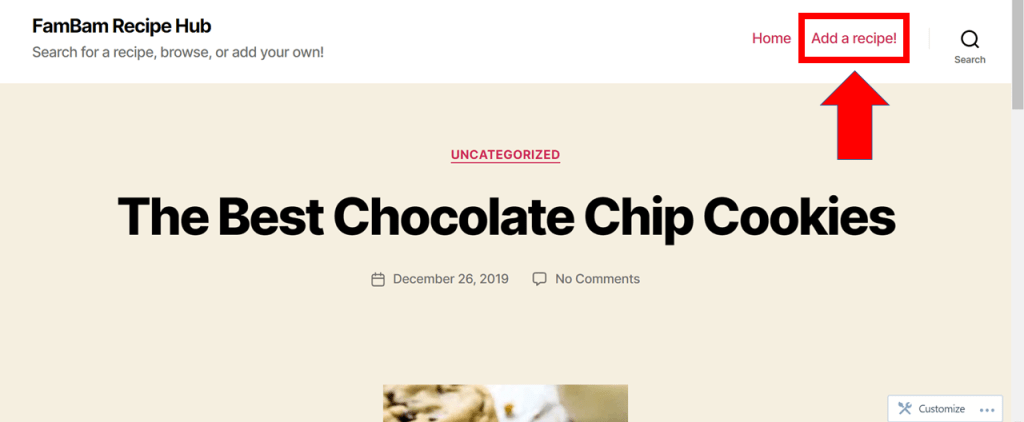
To create a new recipe post: click “Add a recipe!” from the site homepage. You will have to log in with the username and password.
Follow the editor prompts to create your recipe! You can add a title and then type out the ingredients/instructions/whatever. You can also add pictures! It can get a little confusing, especially with the “blocks” but if you think of each “block” as a new thing, like a title or a paragraph, it’s easier to navigate (also, you can change the kind of block. so, if you want a list, click the little list icon (looks the same as in word) to the right of the editor. that way you won’t get a new block for every new list item). If you don’t like the way it looks in the editor, don’t worry! None of that styling translates to the actual post that gets published, so to see what it will look like on the front end click “Preview” in the upper right corner.
To add an image: when you go to select the type of block, click the “image” icon (it looks the same as in word). Then you can select where you want to get it from, like a link or your computer.
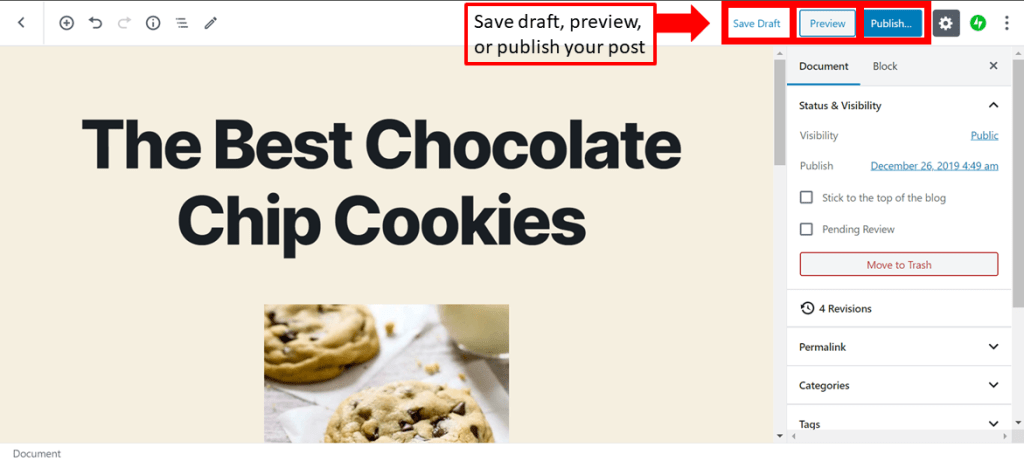
If you want to start a recipe and then save it without publishing it, you can click “Save Draft” in the upper-right corner. Posts can always be edited after they’re published, but if you know you’re not done it’s easier to save as a draft.
When you’re done with the recipe, click “Publish”, next to “Save Draft” and “Preview”. it will ask if you’re sure and whether you want to add tags. You can add tags, which are like categories, if you want to: for the chocolate chip cookies, I added the tags “cookies” and “dessert”. Just type the word you want to add and then put a comma after it. Then click “Publish” again, and you’re live!
